Getting Started

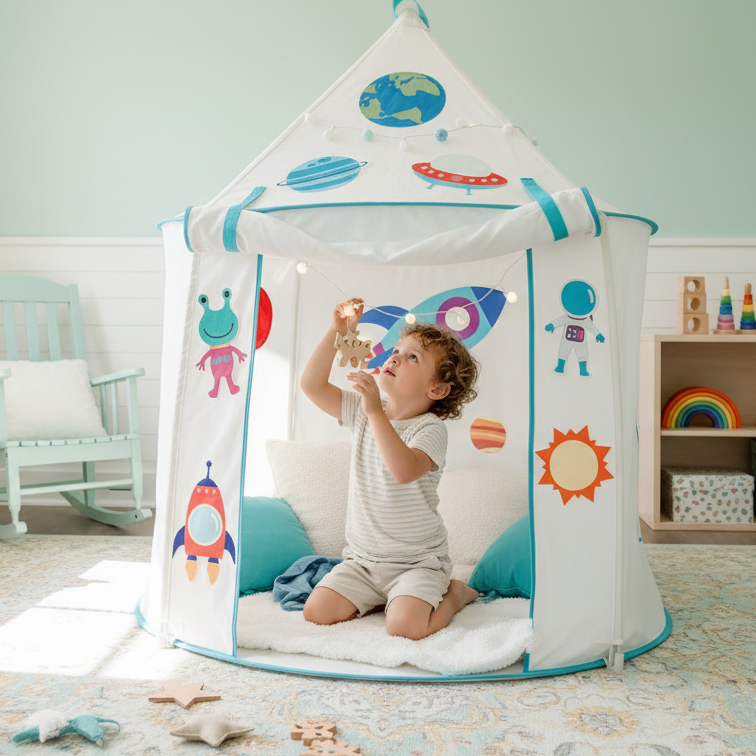
Yay! Your ZeeZee Adventure tent has made it to your home! In case you've misplaced your care card from your package, here’s a quick reminder as you get started.

Child Development Tip: Research shows that engaging in imaginative play with consistent themes for at least 7-10 days fosters deeper creativity and critical thinking. To keep things fresh and exciting, consider rotating the StickeeZ themes regularly to inspire new adventures and storytelling!

How to Fix Compression Creases

Your ZeeZee Adventures tent may arrive with light creases or folds. This is normal and expected.

Our tents are made from an ultra-soft, breathable fabric so children can play comfortably for long periods. To protect the fabric during shipping, each tent is carefully folded and compressed. As a result, you may notice creases when you first open it.

How to smooth it out:

- Set the tent up and let it settle naturally,
(OR)
- Gently steam on a low setting. Avoid mesh windows. Do not iron.

A calm space invites calm play. Many families include this as part of their child’s setup, supporting independence and open-ended play.

Dewrinkle Your Tent

Before After
Before
After

Drag the slider to see the difference

Taking a moment to smooth and set up the tent models care, intention, and pride in one’s environment

How it works

Step 1

Step 1

Assemble the tent with the easy-to-follow instructions provided in the box.

Step 2

Step 2

Customize the tent with a variety of StickeeZ themes.

Step 3

Step 3

Have fun! Go on boundless adventures!

Thoughtfully Designed

Parts and accessories that bring your ZeeZee Adventures Tent to life.

Designed for comfort, creativity, and calm in every adventure.

Designed to inspire. Crafted for play.

" type="video/mp4"> Your browser does not support the video tag.

Setup Instructions (V2.0) Tent

Step 1: Insert the Poles

Gently slide the colored-tip end through the fabric sleeve. If it feels snug, simply straighten the path—never force it.

Stpe 2: Around the Rim

The rim area can feel slightly tighter. Adjust the fabric gently to create a flat path and guide the pole through smoothly.

Step 3: Secure the Base

Snap the white-tip end into the elastic cap at the base of the tent.

✨ Wrinkle Care

If your tent looks a bit wrinkled from packaging, use a fabric steamer on low—but avoid the mesh windows.

Version 1.0 Tent Instructions

1

Snap Poles & Prep Tent

Snap each of the four provided poles together and lay collapsed tent, flat to prepare.

2

Install Poles Inside Tent

Install each pole inside the tent by putting the base of pole (white tip ends) into the support base pockets and the top of the poles (color tip ends) into the upper slots.

3

Secure Poles Inside

Use the string around the circular rim to secure the pole in place.